
Camera setting for perfectly exposed underwater photographs
I won’t lie. The photography on my JoeScuba blog hasn’t exactly been spectacular. Mostly, this is because my focus for the last several years has been technical diving and instruction. Not a lot of camera equipment can survive technical diving depths, and underwater photography isn’t an option at all while teaching.
In the last few years, however, I have been writing for magazines like Submerge, as well as doing a lot of assignment shooting for marketing dive resorts. Both of these require perfect underwater photos.
In my travels, I encounter quite a few frustrated underwater photographers. There are many reasons divers struggle to take great pictures, but exposure need not be one of them. In the lines that follow, I’m going to give you the exact camera and strobe settings that will start you on a path to taking perfect underwater photos.
I’ll start with the camera settings (and strobe) for a your basic underwater fish or diver portrait. After that, I’ll explain the theory and reasoning behind those settings. I should add that these are manual settings for both your camera and underwater strobe(s). I’ll assume two strobes, but the starting point for a single strobe is roughly the same. I’ll save composition, advanced strobe placement, backscatter and diving skills for another day.
Underwater camera settings for perfect exposures
Camera Set Up:
Exposure Mode: Manual
ISO: 100
Focus Mode: Whatever works to achieve sharp focus for the type of subject you are capturing
Underwater Exposure:
Aperture (F-stop): f/5.6
Shutter Speed: 1/160 second, or the sync speed of your strobe(s), if slower
Underwater Strobe Settings:
Mode: Manual
Power: 1/2 to 60% (Assumes your flash guide number is 20. Adjust power higher for lower guide number strobes.)
Strobe Distance: 2 strobes located about 18″ to the left and right of your subject, and slightly above
Shot Set Up:
These settings assume your subject is 10-18 inches from the front of your camera’s lens. (Closer is better.) The suggested flash placement is for landscape orientated images. I suggest you begin with that, and make changes as you get a feel for how your particular camera, strobe and lens focal length combination behave.
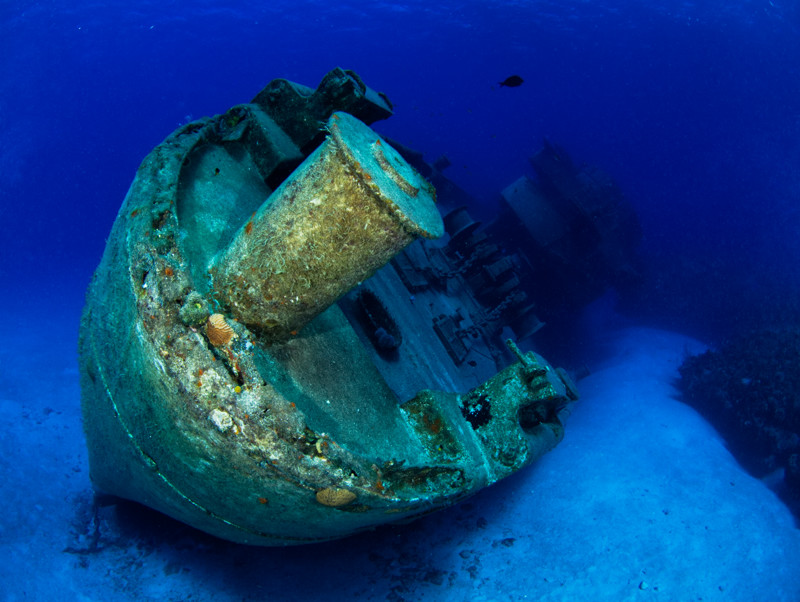
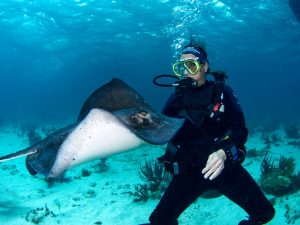
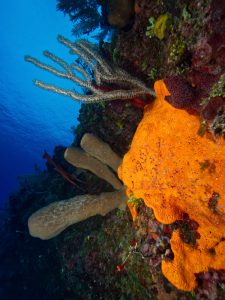
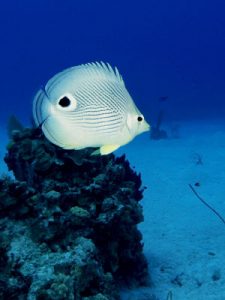
Taking pictures underwater
For example, say you shoot an image that’s clearly overexposed, so you stop down. Using TTL exposure metering, your camera will likely increase the flash output to compensate for what it thinks the exposure should be. The resulting image will still be overexposed.
The idea with my suggested underwater camera settings is to start with an image that is close to perfectly exposed, so you can make simple adjustments to get the result you want.
Expose your background with f-stop (aperture). Expose the subject with your strobes.
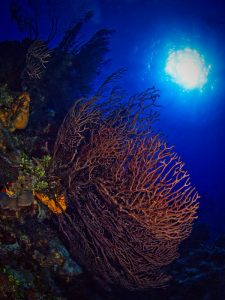
Your strobes can only penetrate a few feet underwater. That means your background is going to be some shade of blue in tropical water. Of course, that assumes there is open water behind your subject (usually a good idea). You can control the “shade” of that blue background water by varying your f-stop or aperture.
Most photographers hope to frame their subjects with deep, rich blues. You can achieve this in two ways. The first is to simply get deeper underwater where there is less available light. The second and more controllable way is to stop down. Since artificial light can only reach a short distance, your open water backgrounds will be exposed entirely by naturally available light. In general, this means f/11 will produce a darker background than f/5.6, for example.
As you stop down, increasing the power output of your strobes allows you to properly expose your subject. White or other light colored subjects require less light than darker ones. Since you can see the result immediately after taking a photo, making adjustments is easy.
You’ll find that getting closer to your subject will have a similar affect to turning up the power on your strobes, but with less backscatter and richer colors. Of course that changes your composition, and getting close to some underwater subjects can be very difficult, but as a rule, the closer you are to your subject, the better.
Camera settings overview
My above recommended settings begin with manual mode for everything. If you are reading this, I’m assuming you’ve already tried and grown frustrated with auto-exposure and TTL metering. Let it go. Trust me.
Notice, I recommend ISO 100. Shooting at the lowest possible ISO minimizes noise in the shadows of your images. When using artificial light, there are very few reasons to shoot at a higher ISO. Without going into a lot of detail, higher ISO settings make it possible to use faster shutter speeds to minimize camera shake in low light. Since, my recommendation is to use your flash’s sync speed, that point is moot.
For aperture/f-stop, my preference is to start with f/5.6 and move as close to your subject as possible. This makes sense because most lenses are near their sharpest a couple stops down from wide open. Also, in clear water, it just happens to work well with most strobes set to half power. This also gives you somewhere to go in either direction for creative reasons, or as circumstances dictate.
Choosing your flash’s sync speed (usually around 1/160 second) means your shutter will be open optimally throughout the power range of your strobes. Seriously, just set it and leave it alone. Someday, you may find a good reason to use a different shutter speed with you underwater flash. But, the goal for now is to learn how to get perfect exposures underwater. The sync speed is just the thing to help you get there.
Finally, I suggest starting at half power–assuming your flashes have a controllable power setting. Most do. Many will have settings for 1/4, 1/2, 3/4 and full power. Higher end strobes will have as many as 10 increments from the lowest setting to full power. Staring in the middle gives you somewhere to go in either direction.
Making exposure adjustments underwater
You may find f/5.6 at half power isn’t quite right as the go-to setting for your particular system. Or, it works most of the time, but not under certain circumstances. Here is a quick list of conditions along with one or two ways to make correct adjustments.
Overall image is too dark (underexposed):
- Move closer to your subject
- Use a wider aperture, say f/4 or even f/2.8
- Increase your strobe’s output setting
- Change ISO setting to 200 or higher (Remember, this will increase noise in the shadows.)
Overall image is too light (overexposed):
- Stop down to f/6.5, f/8 or smaller aperture
- Reduce strobe power output
- Adjust your strobes farther back relative to the front of your lens port
Background properly exposed but subject is overexposed:
- Reduce strobe power output
- Adjust your strobes farther back relative to the front of your lens port
Background too light or overexposed, but subject is properly exposed:
- Stop down for proper background exposure and increase strobe power output to compensate for the subject exposure
- Stop down for proper background exposure and adjust your strobes closer relative to the front of your lens port to compensate for your subject
Background too dark or underexposed, but subject is properly exposed:
- Use a larger aperture to properly expose the background and reduce strobe output to compensate and properly expose your subject
Background properly exposed but subject is underexposed:
- Move closer to your subject
- Increase strobe power output
- Adjust your strobes closer relative to the front of your lens port
Notice we only change the f-stop/aperture setting if the background exposure is wrong. This is because your background is exposed almost entirely with ambient light. As mentioned early on, even high powered strobes can only reach a few feet underwater. Adjusting those really only affects the subject lighting.
In a very real sense, underwater photography requires two exposures that are independent of one another. That actually makes things easy once you learn how to take control. Once you have a good starting point (the reason for this article), it only requires two steps.
- The first is to find the f-stop that properly exposes your background.
- Next, adjust your strobes to properly expose your subject.
Becoming a better underwater photographer
Taking perfect underwater photos starts with getting perfect exposures.
The next time you dive, take as many photos as possible using your baseline camera settings. Start with the settings I’ve detailed here and make adjustments for your personal system. Experiment with different apertures and strobe power settings until you develop a sense for what impact each will have before you take the photo. Shoot the same subject several times. Change the aperture to darken and lighten your background, while adjusting your flash output to maintain perfect exposure of your subject.
What you will be doing is not only mastering your equipment, but mastering light. More correctly, you’re mastering the way light reaches your camera’s sensor, and developing an understanding of why that’s important.
If you have any thoughts, and especially if you try my suggestions, I’d love to hear what you have to say. Now, get out and blow some bubbles!