
Recreational Diving with a Backplate & Wing
Becoming a great diver depends on two key elements: buoyancy control and trim. Of course, there are plenty of other necessary diving skills—mask clearing, etc.—but buoyancy control and trim are what set divers apart.
Buoyancy control is often used as a blanket term to include trim. However, buoyancy control and trim are not at all the same. Buoyancy control refers to a diver’s ability to maintain his or her vertical location in the water column—in other words, the ability to maintain a given depth. Having good buoyancy control means being able to remain at a particular depth, but without regard for the diver’s orientation.
A diver can be upside down, rolled to one side, vertical or in any other position and still have good buoyancy control.
 Trim refers to a diver’s natural body position when neutrally buoyant and motionless. A simple way to check your trim is to stop swimming and hover without using your hands or feet. Do your feet sink? Do you roll to one side? Flip over?
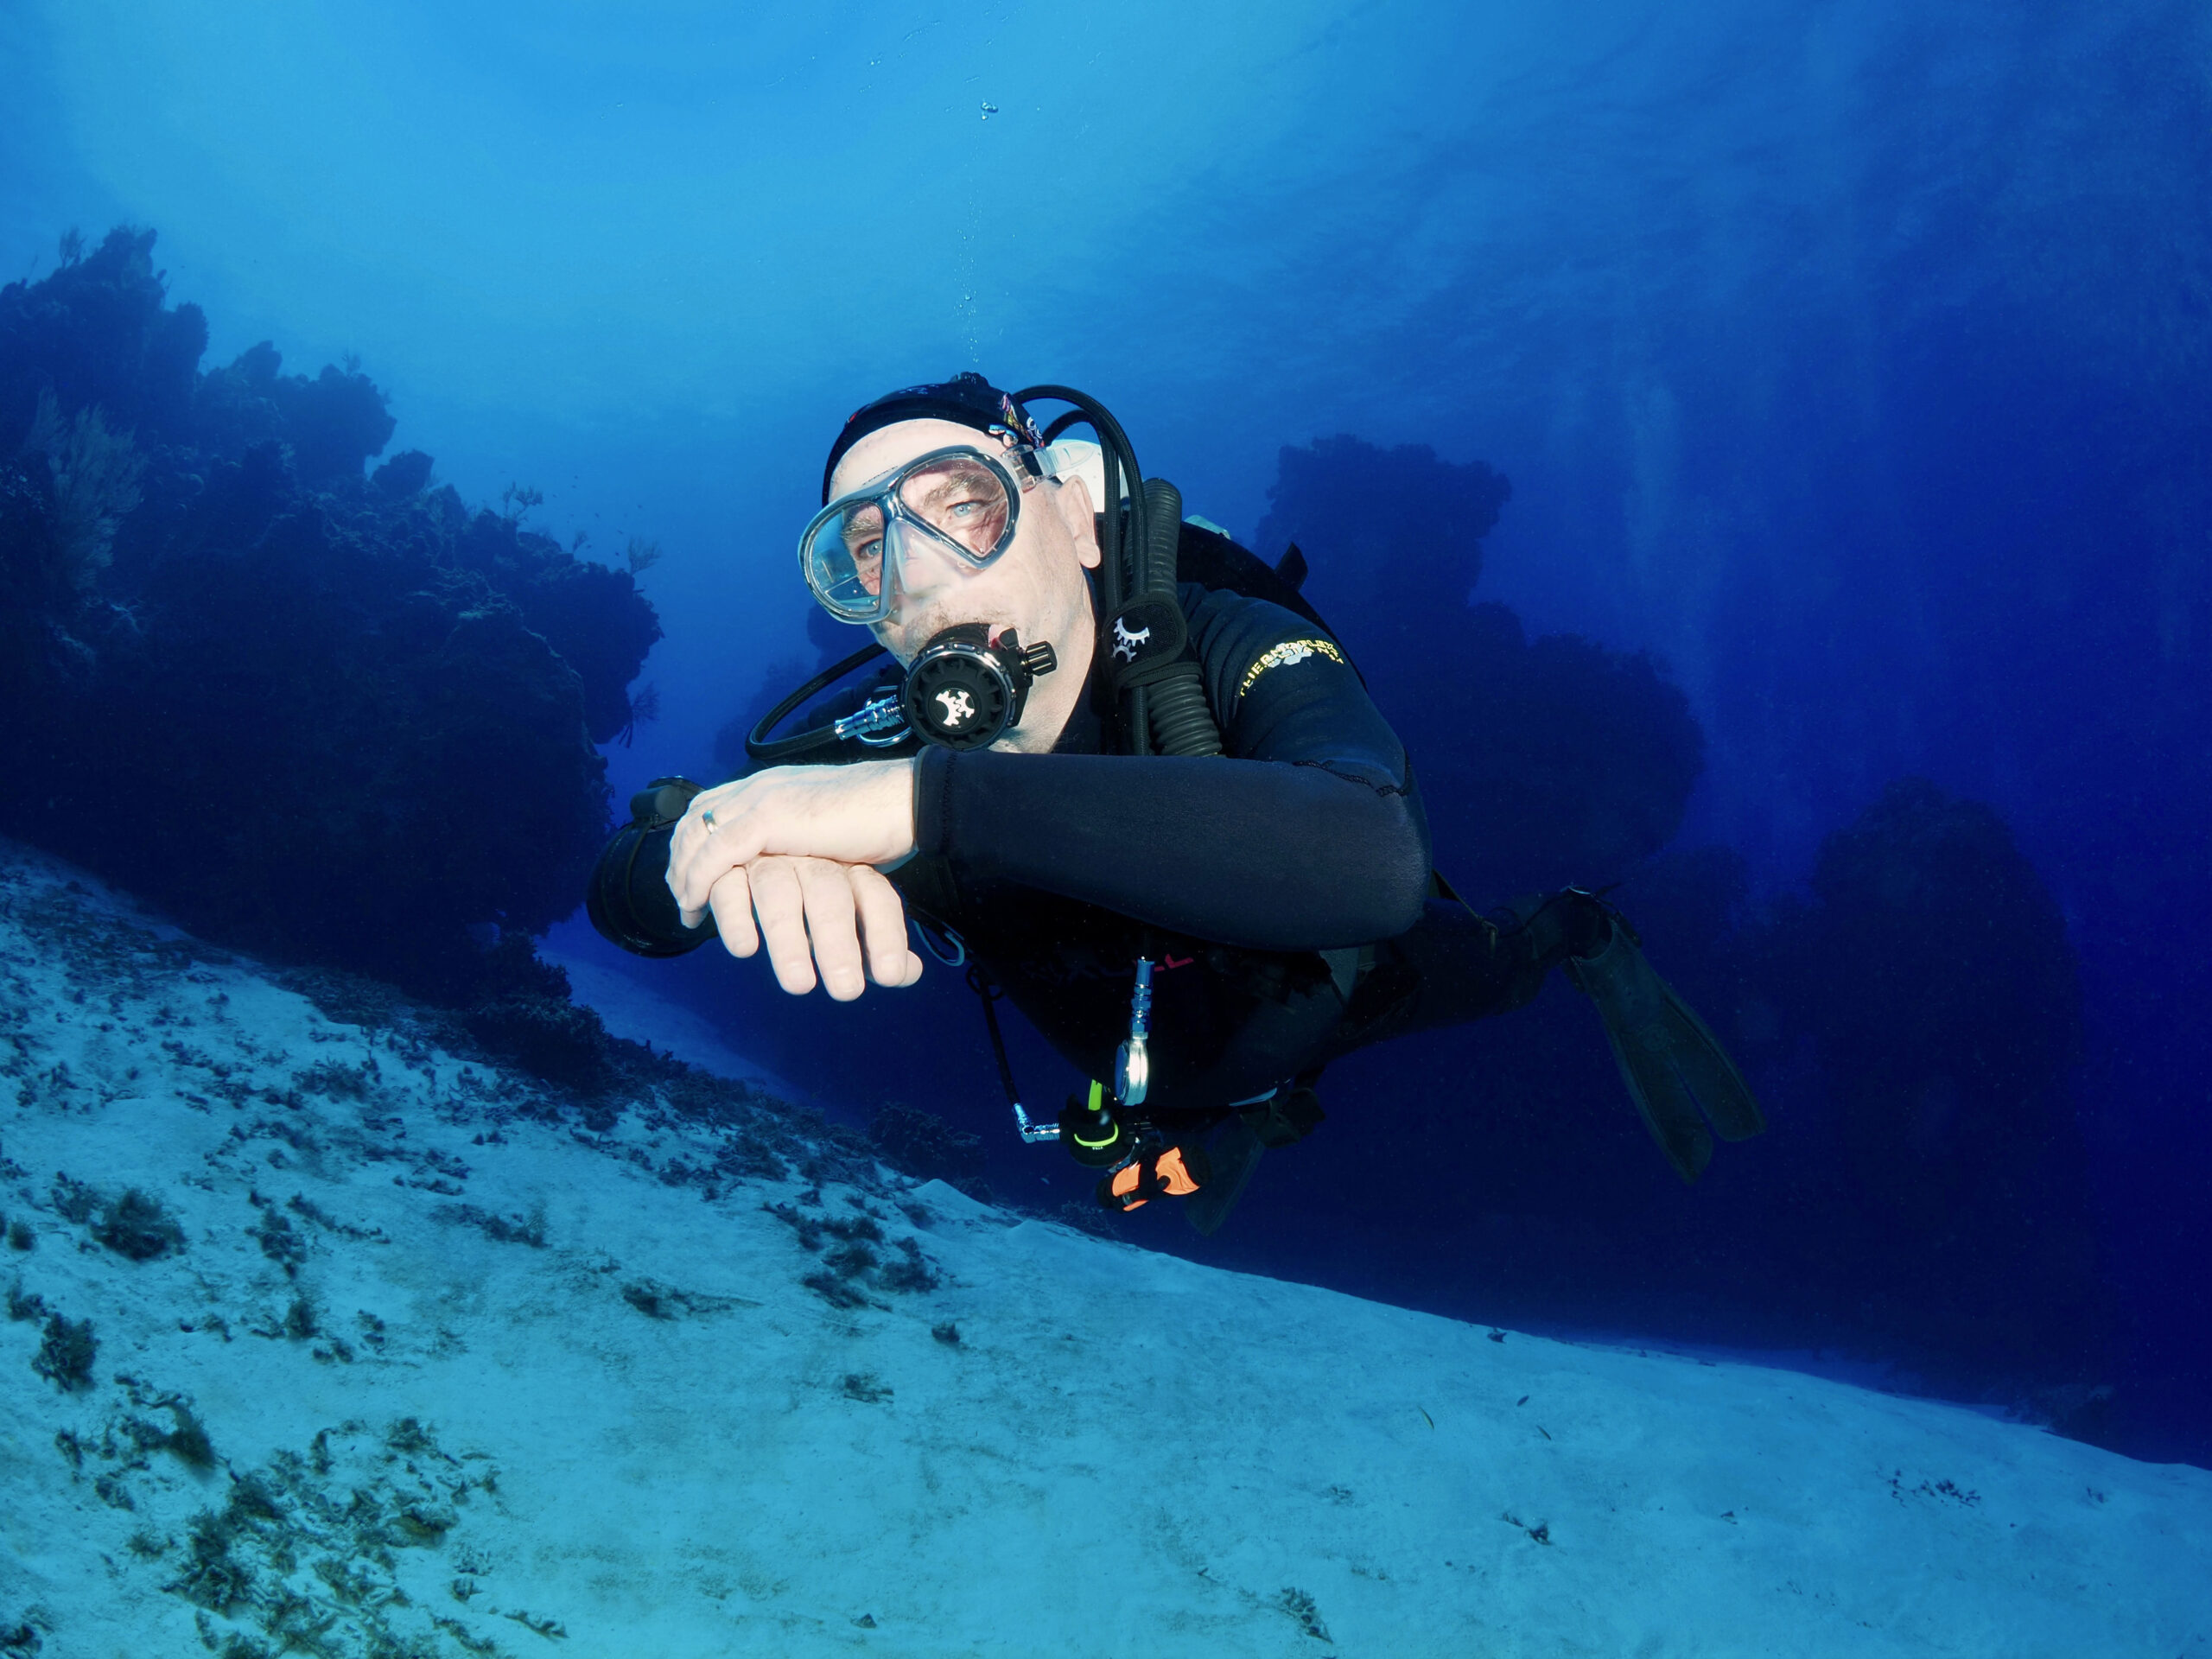
The ideal diver orientation is horizontally level with your knees slightly bent and your fins and fin tips up. This should be your natural, default state when hovering.
To put it simply, if you sink or float, you have a buoyancy control issue. If your natural diving position is out of level, you have a trim issue.
Proper Weighting in Scuba Diving
Get this concept into your memory. Buoyancy control is influenced by how much weight a diver carries. Trim is influenced by the diver’s weight placement.
Let’s focus on buoyancy control first. We (diving instructors during your Open Water class) teach that “proper weighting” means being able to float at eye level while holding a “normal breath.” The concept is that all the diver needs to do is exhale to begin his or her descent. After that, the diver needs to add small bursts of air to the BCD to maintain control until arriving neutrally buoyant at the planned diving depth.
For new divers, this provides a reasonable starting point. In practice, I find that most divers will be somewhat overweighted using this as a guideline. This becomes especially apparent as divers gain experience and become more comfortable underwater.
The best way to establish proper weighting underwater is to weight yourself for the end of the dive. Essentially this means weighting yourself for your safety stop. Why? Because an empty scuba tank is 4-6 pounds lighter at the end of the dive than it was when starting out full. This is where you want to be neutrally buoyant. Using the “eye-level” method, you’ll be slightly negative as you begin your descent. But, in a practical sense, it is nearly impossible to know just how negatively buoyant you really are.
However, if you are exactly neutral (NO air in your BCD) at your safety stop with 500psi in the cylinder, you know you’re 4-6 pounds negatively buoyant at the start of the dive. You have to be because that’s how much the air weighed that’s no longer in the tank. The exact difference depends on what cylinders you are using.
(As a side note, I’d like to point out that anyone that tells you steel scuba tanks don’t change buoyancy throughout your dive are wrong. Period.)
All scuba cylinders will get lighter as the pressure drops. The change is due to the weight of the gas (typically air or Nitrox) being reduced. It makes no difference what the tank is made of. That said, steel cylinders are generally heavier, and often stay negative even when empty. The result is that less lead will be required for a given dive, but the change in weighting throughout the dive will be the same as long as the tank volume is the same.
How to achieve perfect neutral buoyancy
With that out of the way, here’s how to achieve perfect scuba diving weighting… To start, I like to take my students into water 15 to 20 feet deep with 500psi in their tanks, which is basically empty. We will start with whatever amount of weight they typically dive with, but in a configuration that’s easy to change—either clip on weights or accessible trim pockets (usually a combination of both).
Once on the bottom, we dump ALL of the air out of the diver’s BCD. Since the tank is basically empty to start with, we don’t need to worry about floating eye level, or becoming more positive as the dive progresses. We are simulating the end of the dive. As long as you can maintain your safety stop with an empty BCD, there’s nothing else buoyancy-wise that you need to be concerned with.
Most often, students are surprised how much weight we can remove and still maintain their safety stop depth. Many times, it is 10 pounds or more, even in warm water!
If you are neutrally weighted at the safety stop, you will be perfectly weighted throughout your dive. As long as you dive in the same kind of water (fresh or saltwater), are wearing the same exposure protection, and using the same type of scuba tank, this is the amount of lead you need.
For most “vacation” divers, this will mean a 3mm wetsuit or shorty, and an aluminum 80 cubic foot scuba tank (also called an AL80). However, the concept and the process is the same, regardless of configuration. Being perfectly weighted means being neutrally buoyant at the end of the dive, with empty cylinders. It doesn’t matter if you are diving in a dry suit in fresh water and steel tanks, or warm saltwater without a wetsuit at all, if you are neutrally buoyant at the end of the dive, you will be properly weighted for virtually every diving condition.
Achieving Proper Trim in Diving is Everything
Perfect trim means having your natural, neutrally buoyant, diving position be horizontal, as described earlier. You want to be dead-level with your fins up off the bottom. Fins, by the way, will have a major influence on your trim. Some technical divers will take issue with this, but almost all divers benefit from using neutral to slightly floaty fins. This is because 99% of divers naturally hover in a feet down position. Why exacerbate that?
One premise of this article is to suggest that the backplate and wing configuration widely adopted by technical divers, is also the best choice for recreational divers. Trim is the reason.
Trim is a function of weight placement. By weighting yourself for the END of your dive, you will be using the correct amount of lead. Most traditional, weight integrated BCDs concentrate weight around your waist. Some will have trim pockets located just below your shoulder blades. These usually hold up to 5 pounds on each side.
Let’s assume you’ll need 16 pounds of weight for a dive. You know this because you’ve had an opportunity to conduct the empty tank session outlined previously. As a rule, I want half of your weight to be ditch-able in case of an emergency. This means you could reasonably place 4 pounds in each ditch-able weight pocket, and 4 more pounds in each trim pocket.
Once configured this way, gear up, jump in the water and descend to 10 feet or so. Hover and relax. Don’t kick or use your hands. Just hover and let your body find its natural orientation while maintaining neutral buoyancy.
I can almost guarantee you that your natural body orientation (trim) is going to be feet-heavy, or biased toward making you hover vertically in the water column.
The trouble with traditional BCDs
Traditional BCDs offer very limited weight placement options. Some are better than others, and some favor certain conditions like cold water vs warm water, etc. However, nearly always, weight placement in a traditional BCD is too low. Even most trim pockets are positioned too low, so their impact on the diver’s trim is diminished—especially for divers requiring a lot of weight.
Technical divers, and a lot of advanced recreational divers obsess over trim. We often use the term “buoyancy control,” but we really mean trim. The harness/weight system that provides the greatest flexibility in terms of weight placement is the backplate and wing.
Basically, a backplate is a metal plate with holes and slots cut to accommodate a webbing harness, alongside with some means for attaching your scuba tank (or tanks). At first glance, it may look uncomfortable, but in practice, that’s not the case at all.
Weight placement aside, there are countless ways to configure your backplate and wing diving system. You can make it adjustable, add quick releases, a chest strap, padding and many different ditch-able weight systems. More traditionally, you’ll want d-rings positioned at your chest and waist, which are used to “clip off” accessories like a signal tube, underwater lights or your pressure gauge.
If you wear a wetsuit or drysuit, you will most likely find padding unnecessary, since the suit provides all the padding you’ll need. This is especially true if you only carry as much weight as you need for the dive.
The main advantage is that you can add trim pockets to your tank bands to distribute wight much higher than you can with the “trim” pockets provided in a traditional BCD. Also, the backplate itself will weigh just under 2 pounds, to around 6 pounds, depending on whether it is made of aluminum or stainless steel (I am working on coming out with a line of titanium backplates). That means you’ll require less lead, and experience even better weight distribution using a backplate and wing as opposed to a traditional BCD.
Backplate and wing buoyancy control systems are modular
One huge advantage of a backplate and wing over a traditional BCD is it can be entirely custom fit to the individual diver. To dig deeper into weight placement, imagine the example above where the diver requires 16 pounds. Using a stainless steel backplate, that means carrying just 10 pounds of lead. A typical placement might be 2 pounds in each trim pocket, plus 3 pounds of ditch-able weight in waist pockets.
If the result is slightly feet-heavy, the weighting can be reversed, with the 3’s positioned on the upper tank band. Keep in mind, you’ll always want to carry enough ditch-able weight to become positively buoyant in an emergency.
If using an aluminum backplate, you can get to 16 pounds by adding 14 pounds of lead along with the 2 pound plate. This can be a combination of 5 pound and 2 pound weights, or 3 pound and 4 pound weights. This gives you ultimate flexibility in terms of weight placement, and ultimately, makes perfect trim possible.
Of course, many divers won’t require anywhere near that much weight, while other divers may need more. It’s the combination of plate options and trim placement that make flawless trim possible for nearly any diver. Divers that can’t achieve perfect trim in a backplate and wing probably need to work on their diving skills a little more.
Disadvantages of a backplate and wing
The most traditional backplate and wing configuration uses a single strand of 2 inch nylon webbing to create the entire harness—waist band and chest straps. The webbing threads in at the waist, then up to create a shoulder strap, across behind your neck, then down to create the other shoulder strap, before continuing to form the other half of the waist band.
If you didn’t follow all that, it’s okay. Just know that this configuration is a hassle to adjust, and may be challenging for divers with shoulder problems. To deal with that, there are multiple options for adding adjustments and/or quick releases to make your backplate and wing don and doff more like a jacket-style BCD.
Also, the backplate and wing configuration is rear-inflate only, meaning all your floatation is behind your back. This may tend to float you slightly (or very) face down when at the surface. Most traditional BCDs intended for more advanced divers are rear-inflate as well, so this isn’t usually much of an issue, if at all. You’ll most likely find that, by having much of your weight positioned behind you where the wing is, your surface floatation is quite natural.
If you share your gear, forget about it. Custom fit means just that. Your gear fits you alone. If you don’t like sharing, this is perfect! If you tend to pass your gear around, not so much.
Also, being custom, if you dive in different configurations, or travel from cold water to warm water, you’ll almost certainly want more than one plate/harness combo. Stainless and a looser fit for your drysuit, and aluminum (or soon, titanium) and tighter fitting for travel to warm water.
Personally, I dive in so many configurations and in so many different diving conditions, I have several backplates and several more wings. I use the most appropriate combination for the particular dives I’ll be doing. Although, it seems like a lot, my system always feels the same in the water. As a result, my buoyancy control and trim are perfect for every dive. Warm water, cold water, deep, shallow, rebreather, doubles, drysuit, wetsuit… it doesn’t matter.
I have fit dozens of recreational divers with backplate and wing variants. In every single instance, the diver’s buoyancy control and trim was vastly improved. It usually takes a number of dives, making adjustments in between, but the result is always the same—better controlled, more confident divers.
So, if you struggle with buoyancy control, trim, or confidence as a diver, switching to a backplate and wing configuration just might be your best bet. Also, if you are interested, I offer a course a few times a year, at some of the best diving destinations in the world. We spend a week dialing in your equipment, perfecting your diving skills and enjoying some of the best diving our planet has to offer. Drop me a note if you are interested and I’ll let you know what’s coming up.
Interested in the titanium backplate, please advise.
Enjoy your information,
Phil
Hey Phil, It’s still a little too soon for all the details. I’ll keep you in the loop!